Replacing Alternator Brushes
Or why are my brake and charge lights on?
Author: Adam Fertig - 10/2003 for 4x4wire originally, saved from the bit bucket by R. Brown, 10/2022.NOTE: Photos below show the 3.0L V6 engine/alternator. The 2.4L 4-cyl alternator repair is similar, albeit easier to access.
If you have a early model Toyota 4Runner or pickup and the charge and brake lights on the dash light up at the same time, there is a good chance that your alternator will soon need replacement. This is exactly what happened to me. The brake light first came on for a day or two. I checked all of the brake components and could find no problems. Then all of the sudden the charge light and brake light lit up at the same time. This was puzzling since the battery read 13 volts while running. After a few days I encountered a major problem. On my way home from work, the CD player quit working, and my dash lights went dim. I looked at the volt meter in the dash, which was at the half way point. I began to put the turn signal on to get into the other lane, and the voltage dropped below half. Next the motor cut out, and the headlights went dim. This was a sure sign of a bad alternator. Had the battery been the culprit, the problem would not have been likely surface while the vehicle was running.
Fortunately there is a low cost alternative to a new alternator. All that is likely to be needed is a new set of alternator brushes for $10-$20! You can find these brushes at most major auto parts stores, or directly from the dealer using part number 27370-35060. The part from Toyota is a complete brush set, including the bracket that holds the brushes. The parts store piece consists of only the two metal brushes, with a long wire attached to each. The brushes have copper leads attached to them that runs though the middle of a spring, and then goes out the back of the brush holder, and is soldered in place. The Toyota part requires no soldering, as it is a drop in unit. The parts store piece requires removing the old brushes, routing the copper wire though the spring and out the back of the holder, and soldering it back into place. Save yourself the trouble and order the Toyota part as soon as your charge light comes on. Retail is $17 for the genuine Toyota part and $9 for the parts store piece.
Tools for the job are as follows.
* 8mm, 10mm, 12mm, and 14mm metric sockets
* Medium sized screwdriver
* Crow bar or long thick screwdriver to put tension on the belt
* Soldering iron and solder if you are in a bind and cannot get the
factory part
* Wire cutters for the above situation to cut the excess wire off of
the brushes
* Wide jaw pliers to compress the clamps on the air box hoses
* Masking tape to mark the spark plugs and distributor for easy
re-assembly
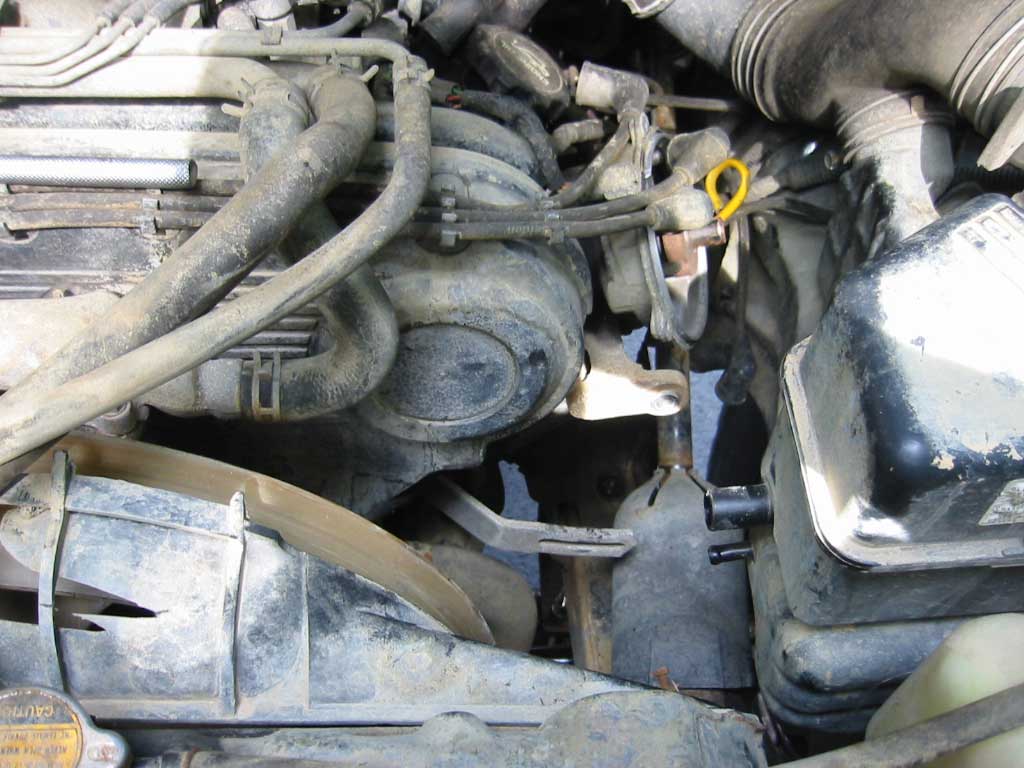
First thing to do is disconnect the negative battery terminal, then focus in on the alternator.
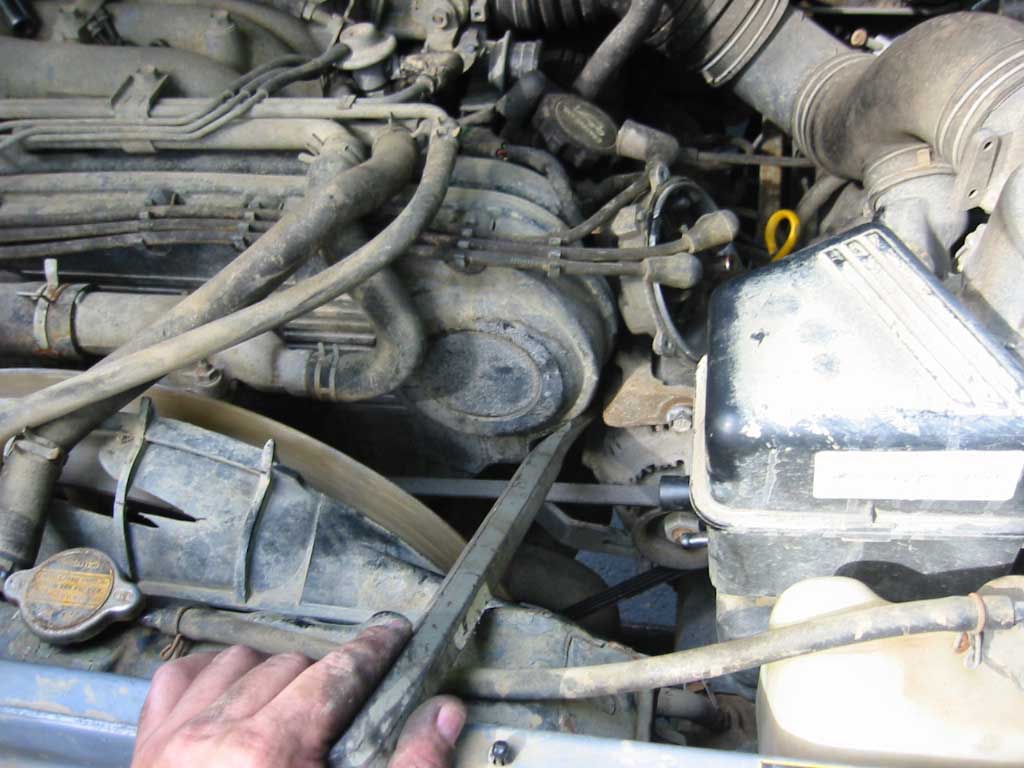
To make removal of the alternator easier, you will need to get a few things out of the way. Start by removing the spark plug wires and the distributor cap. Mark the plug wires and the distributor cap to aid in reassembly. The distributor cap bolts require an 8 mm socket or a screwdriver to remove. Next remove the two small hoses that connect to the air box, to the right of the radiator. It should look like the picture below, but with the alternator still in there.
 |
| Distributor and air hoses removed to free up working space |
There are a few wires that need to be removed from the alternator. Start with the wire covered with the 90 degree boot. Grab your 10mm socket and remove the nut that holds the cable on. Right behind this wire is a larger wiring harness that is plugged into the back of the alternator. Remove it by squeezing and pulling away. Now you will have another one wire harness and a plastic clip that is clipped to the alternator body on the underside of the alternator. Unplug the wire, and use a screwdriver to pry off the plastic clip holding the wire onto the alternator.
Now remove the 12 mm lower adjusting bolt. Once it is loosened, it should relieve tension on the belt. Push on the belt to see how tight it is, and remember to tighten it to spec upon reinstallation. Go ahead and remove the belt from the pulley, then remove the upper pivot bolt with a 14 mm socket. The alternator should now be free from the brackets. Snake the alternator out of the engine bay, which should be much easier with the air box hoses out of the way.
 |
| Battery terminal mounting hardware removed |
 |
| Cover removed from case |
Using a 10 mm socket, remove the nut and plastic boot that hold the positive battery terminal on to the alternator.
|
| Battery terminal mounting hardware removed |
Next remove the three 8 mm bolts that affix the back cover to the alternator housing. This will expose the brush holder and the rubber boot.
|
| Cover removed from case |
Two phillips head screws hold the brush holder in place. Be careful to use the right sized screwdriver, as the screws can strip fairly easily. Pull the rubber boot off and inspect the brushes. They should stick out and have a spring effect to them. Mine were short, stubby, and uneven.
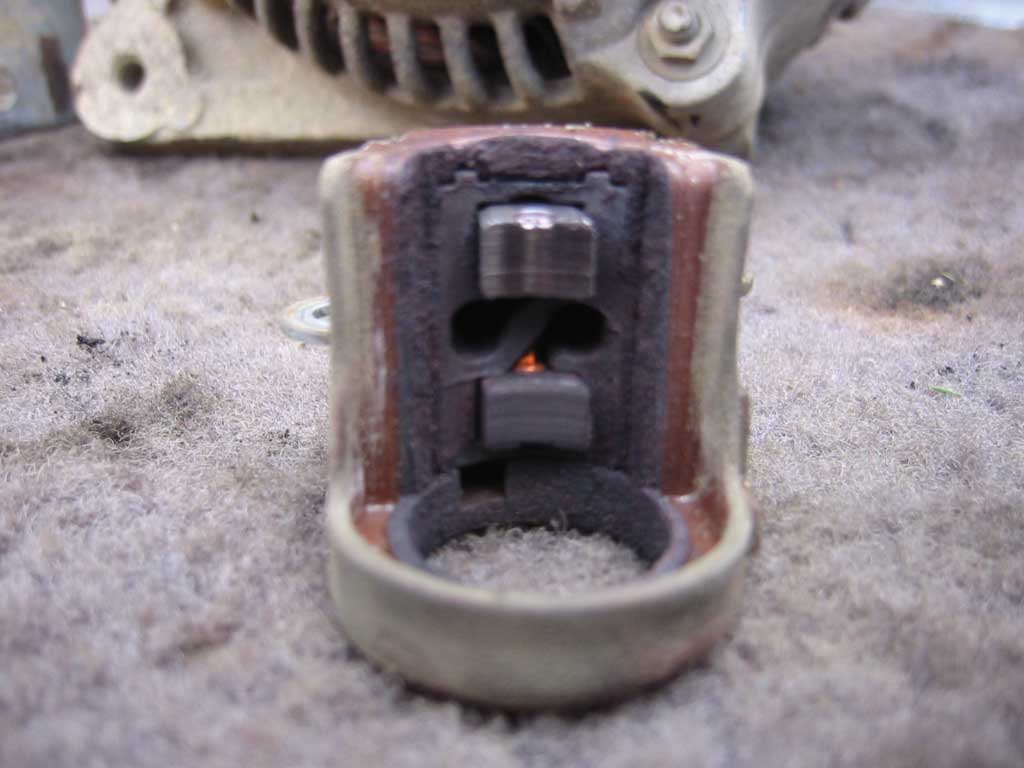 |
| Old alternator brushes, ready for replacement |
Once you get the new brushes in, compress the brushes and remount the holder on the shaft of the alternator, then put the screws back into place. Bolt the cover back on and the boot for the positive terminal that you previously removed. It is suggested that you liberally coat all bolts that thread into the aluminum housing with anti-sieze to prevent them from stripping out. You are ready to put the alternator back in.
Put the alternator back in place, and loosely attach the upper and lower mounting bolts before slipping the belt back on the pulley. Next, grab a crow bar or a long thick screwdriver, which is used to put tension on the belt. Stick the crow bar between the motor and the alternator and pivot it. Now tighten the lower bolt while keeping pressure on the crowbar.
 |
| Applying tension to the alternator belt |
When you have sufficient tension on the belt, go ahead and tighten up the upper bolt. Put reattach the three wires you removed from the alternator. Reinstalled the distributor cap and the spark plugs wires in the correct position. The final step is to reinstall the two hoses on the air box and the repair is completed.
The new alternator brushes solved my problems with the low voltage, and the related problems with the charge and brake lights. Total repair time was approximately two hours, but this could have been cut in half if the factory Toyota part was used.
Why do both these lights go on?
Not sure the reason behind both lights turning on, but if you look into the depths of the wiring diagram, you'll find out how they both turn on. The two lights are connected to each other via a pair of diodes. The brake light has a number of switches feeding it in parallel, including the fluid level switch and the switch on the parking brake handle, along with the charege light input via a diode. The charge light bulb then connects to a diode, then to the engine computer (ECU) and finally over to the brake light bulb/diode. Interesting that the brake light note mentions a Charge Control Relay, see below for more on that.
 |
 |
| Charge Light wiring | Brake Light wiring |
Where is the Charge Light/Lamp/Control Relay?
Apparently this was a thing on the 1983 and earlier pickup models. It seems to have been replaced by the simple diode circuit in 1984 or so. There's a good thread on this on the Toyota Nation forum: https://www.toyotanation.com/threads/charge-light-lamp-relay-mystery.1019602/
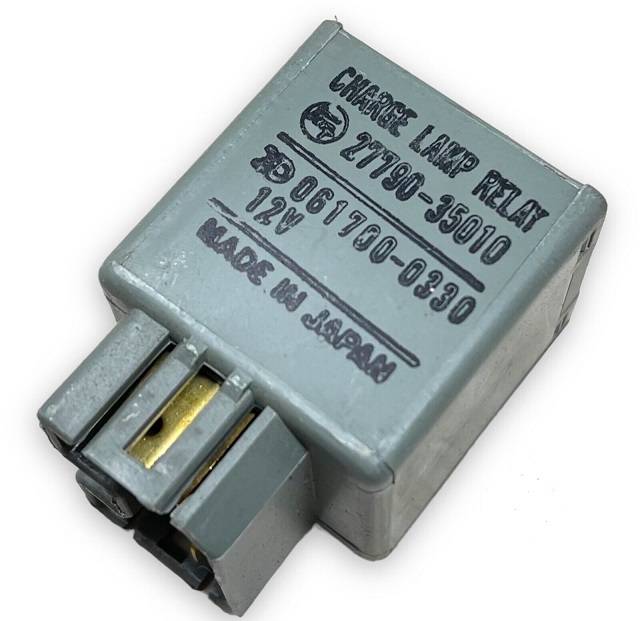 |
| Charge Light/Control Relay |
Original URL: http://www.4x4wire.com/toyota/maintenance/alternator_brushes/
[Last updated: 27.October.2022 ]
Visitor # since 25.OCT.2022